
The "Scroll" Outlining Method
how to organize random scenes, ideas, and dialogue into a cohesive outline

This outlining method is by far my most frequently used. It’s a catchall for lines of dialogue, worldbuilding ideas, and flashes of imagery. Somehow, all those mini inspirations can add up to a book — if you organize them!
I mentally picture my stories as taking place on a long scroll, unfolding in the order of the narrative. When I was constructing longer, novel-length stories, I found the different elements to be unwieldy. My brain was giving me ideas from all over the place, instead of neatly placing down the next scene or the next line in order.
At first, I just started writing down any idea I had that was related to the current book project. This quickly became a messy note on my phone, and evolved into an even messier google doc.
Enter: The Scroll Outline method.
I decided to create an outline that matched the shape of my story. I had a clear sense of the shape and length of the final book, and I needed my outline to match that if it was going to help me stay organized.
The Scroll helps me not only to write and organize the book, but to be a safe landing for all my ideas that appear throughout the day. I know that nothing will slip through the cracks and everyone will end up in the right scene!
The Scroll Outline
Why I created it:
My concept for story didn’t fall into neat categories, acts, or other divisions. Each book had its own shape, length, and turning points. If I tried to sort scenes and ideas at the early stage, I quickly found that my desired delineations crumbled.
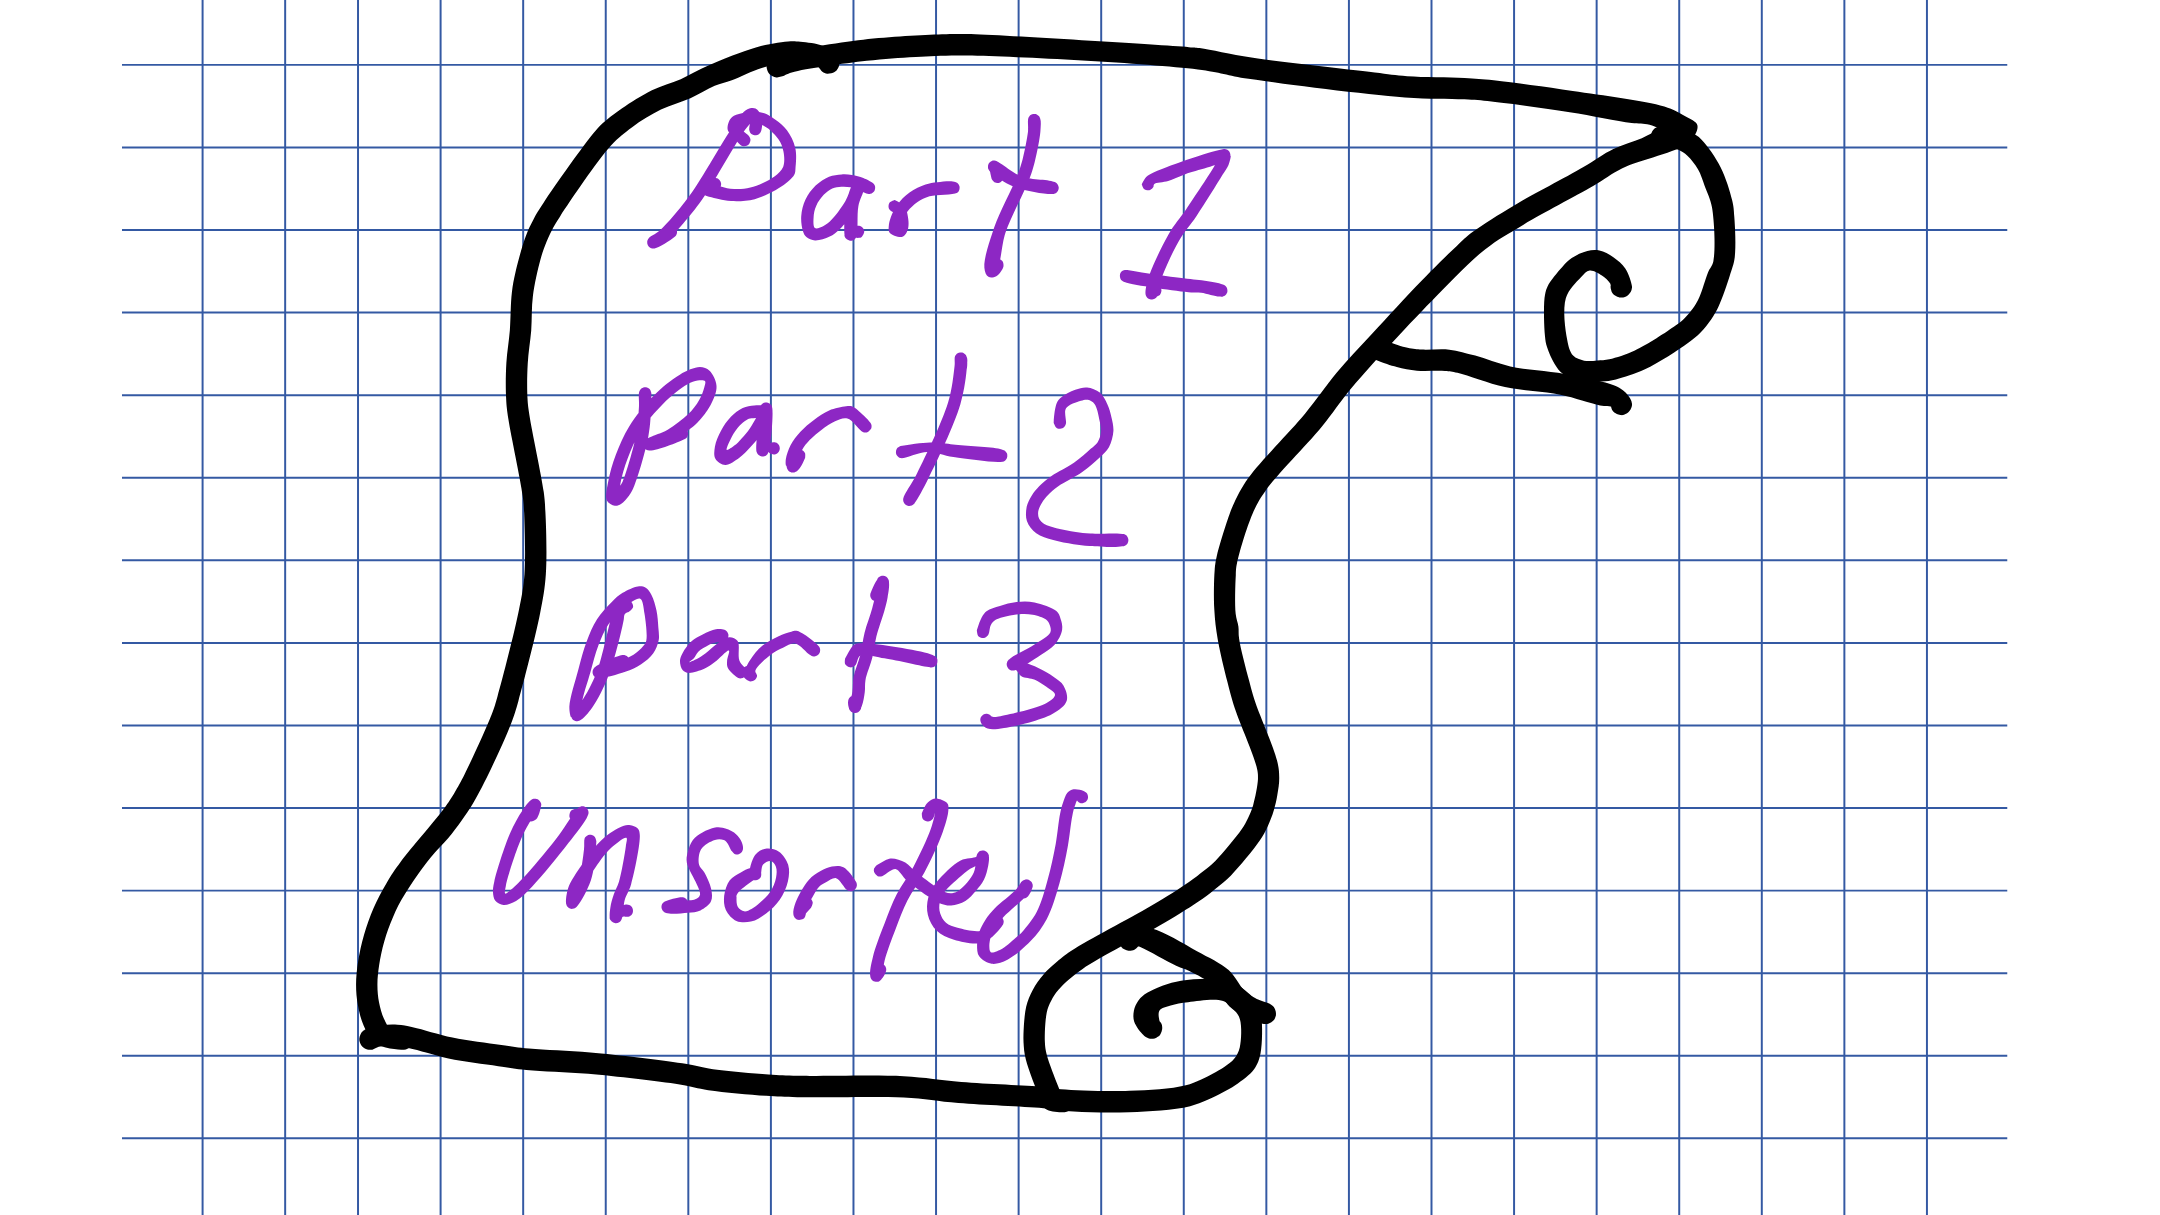
I decided to treat story like a scroll, and allowed it to be endless and capable of unrolling as needed. This method allows you to organize your ideas in the same order that they will appear in the book.
At the same time, it helps you to feel closer to the finished product because when you look at your outline, it matches the final book very closely.
Who it’s for:
This outline is for any writer who feels that they have new ideas for their book throughout their day, and is feeling overwhelmed about how to organize them.
This is also for writers who are embarking on longer projects and don’t want to forget any key details.
Lastly — this is for writers who are genuinely ready to finish a book and bring it to its final form, because it requires you to visualize and work towards the final version of story.
What you’ll need:
The Scroll requires a few key exercises that I’ll guide you through in OUTLINES:
Nickname Scenes: This is one of the first steps to making the outline a working document for the writer. Instead of conceiving of the book as a series of chapters, label scenes based on their most recognizable trait (such as an event or setting). This will help you to navigate to that section of the scroll quickly.
Organize Your Document: Using headings, bold type, and other technological features, make sure that your scroll has a table of contents and a clear series of scenes.
Create Your Idea Drop-off: Through self-reflection and some awareness about your habits and daily life, you’ll want to determine the easiest method of capturing your ideas. When you are in full flow of writing, they will come to you at all hours. You might determine if a notebook is too slow for you, or if you’d rather not use your phone to capture notes.
Design Your Labeling System: Once you’ve created the scroll, you’ll need to use it during drafting and revision. It’s important to design a clear highlighting or strikethrough method to keep track of elements that have been used, or ideas that might be moved to the ‘unsorted’ category.
How to use it:
This outline will be your best friend while drafting and revising to make sure that you don’t lose any of those gorgeous little ideas that may come to you during your daily life.
Make sure that you have your outline easily accessible, especially from your phone. That way you can slot in ideas on the go in their chronological place.
Or — create a funnel system where you have a small notebook or central place to drop ideas, and have a standing date each week where you purposefully add those ideas into their corresponding scrolls.
While revising, the scroll is a wonderful ally to keep track of notes that come up, especially while re-reading. You can leave new ideas for rewrites or changes in the exact scene where they belong. This helps you to revise in order, to jump around, and go where you need to go without losing any of your wonderful realizations of story.
Lastly — when you get helpful feedback from your readers or workshop-mates, having your scroll outline at the ready helps you to disseminate that feedback into actionable steps in your revision plan.
I can’t wait to show you some full scrolls and give you everything you need to organize your own inside of OUTLINES!